Table of Contents
Whether you’re installing tile on your flat or wavy floors, things might get messy if you walk the wrong way. Since tile installation isn’t as easy as it looks, you need to adopt some simple installation tips to pick up the slack. The tile installation process needs accuracy and should be completed properly by measuring mortar spreading, cutting, and setting.
Following the true tile installation tips will help you get a solid and long-lasting tile project for years to come. Thus, it will take all the pressure underneath your feet for uncountable times. But if you leave behind the proper tile installation, you’ll end up with an imprecise project. So today, we are going to talk about some reliable tile floor installation tips and methods that will eliminate all your tile laying mistakes and help you get rid of all your troubles.
Floor Preparing
The very first step of this process is floor preparation. Keep that in mind; if the surface isn’t properly ready, you will suffer a lot during the whole project. Make sure the surface is flat, structurally sound, dry, and free from oil, grease, and dirt. Also, check your floor with a 4-feet straightedge to find the low spots around it, then screw the thin-set over them and get a flat surface to start the installation.

Measurement
After preparing the floor, you have to accurately measure your total room area to find out the starting point of the installation process. You have to ensure the exact midpoint of each wall and snap chalk lines on the floor. The starting point of the tile will be the room’s center, where those chalk lines are crossed. Besides, you’ll have to lay a row of tiles along a straightedge more than halfway across the room. They will determine the cutting size of the tiles along the walls.
Thinset Mortar Spreading
After the measurement part, you have to complete the spreading of thin-set mortar, which is essential for getting a great outcome.
First, take a drill mixer in hand and blend the powdered thin-set with a latex additive. Do this until it gets the consistency of peanut butter, and keep it resting for up to 10 minutes. Then spread a thin layer of thin-set over the surface with the flat edge of a trowel.
Make sure you mix only as much thin-set as you can use within 2 hours. Remember one important thing, press down the thin-set hard so that the trowel makes a scraping sound, and you can get a super attachment when setting your tile.

Tile Setting
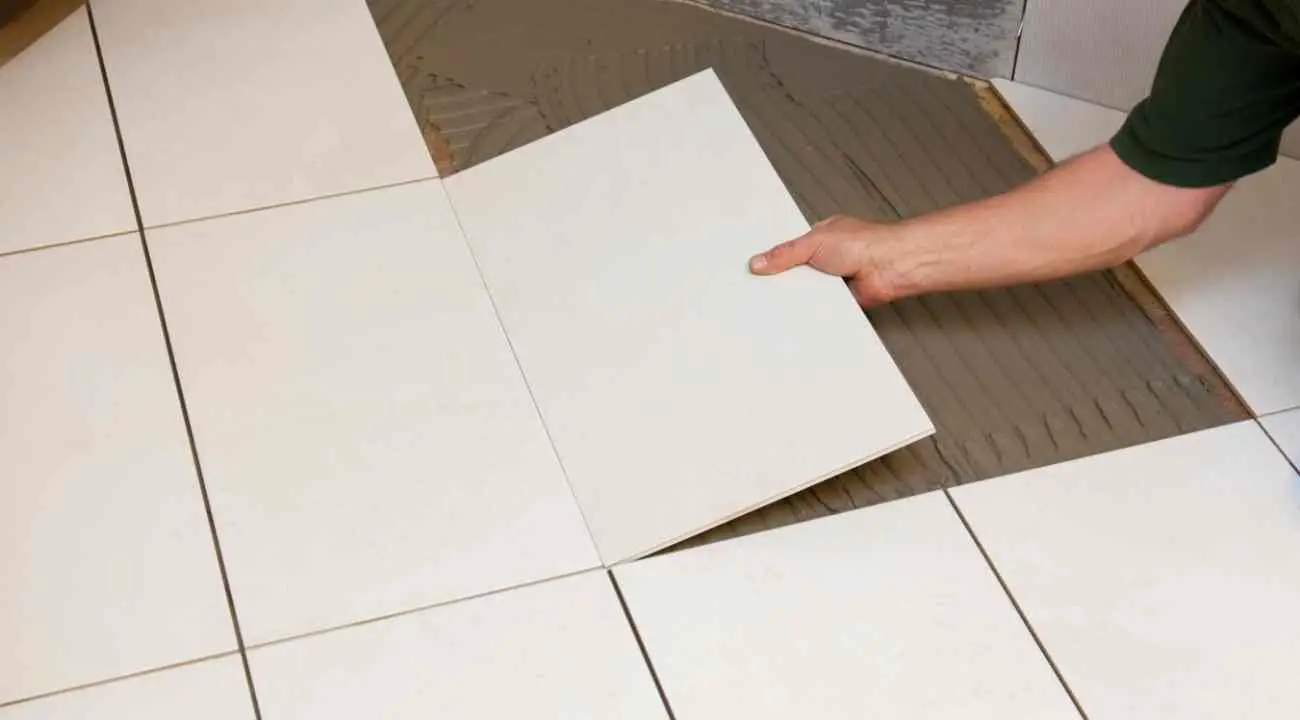
The tile setting comes next when you’re done with the thin set spreading into a specific area. Carefully lay a tile on the thin set next to the straightedge and push it down with a slight twist of the wrist. It will stick perfectly with the thin set.
Do the to set up each tile and after laying all the tiles, use tile spacers to ensure more even joints. Additionally, you have to keep your finger pressure more consistent so that you can avoid lippage at higher or lower tile edges. Never forget to keep a framing square alongside the edge of the tiles to check that they are square to each other.
Cutting And Notching The Tile:
To fit a tile perfectly at the corners of your room, cutting tiles is mandatory. You can’t complete a single project without the cut-up of tiles. Mark exactly where the tile needs to be cut by holding the edges with your corners.
Use a snap cutter to get the most accurate and quick final cuts of your tiles. Score the tile on your snap cutter to get straight cuts with less than an inch wide wastage. After that, make the cut edges smooth with a rubbing stone. Also, you have to cut them from the mark to the line on a wet saw without going beyond the line. Then lift the edge farthest from you at the end of cutting and free the waste.
Grout Mixing
After 24 hours of the mortar drying, you start grouting on your floor. Keep all the conditions as consistent as possible throughout the whole grouting job. When it comes to mixing the grout, you have to be careful with the consistency. It should be like toothpaste as instructed on the bag. Make sure to mix as a quantity that can be used within 20 minutes, and after mixing, keep it standing by following the instructions.

Applying And Sealing Grout
Last but not least, apply the grout. Take a grout float in hand to do effective grouting into the tile joints. Get rid of the extra grout with the edge of the grout float and wipe your tiles with a damp sponge. To make the process more precise, you need to wash the sponge frequently and change the water regularly. After grouting, you have to allow it to set up for about 30 minutes.
Then start wiping away the grout haze with damp and wait for the grout to haze over, then wipe with a clean sponge. Do it back and forth until the tile becomes absolutely clean. Be careful not to be too aggressive while wiping up the grout haze, or it can be pulled out of the joints.
After 48 to 72 hours of cleaning, when the grout will be dried perfectly, simply seal all the joints and get ultimate protection against stains and defects. Finally, get a solid tile floor for lifetime durability.


Leave a Comment